Complete VR game development tutorial for beginners
Introduction
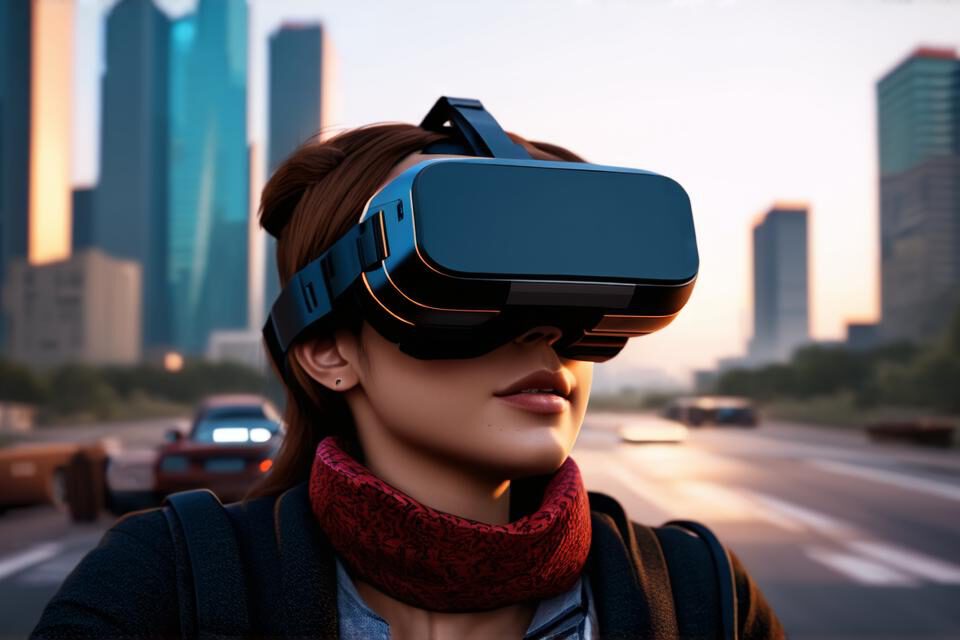
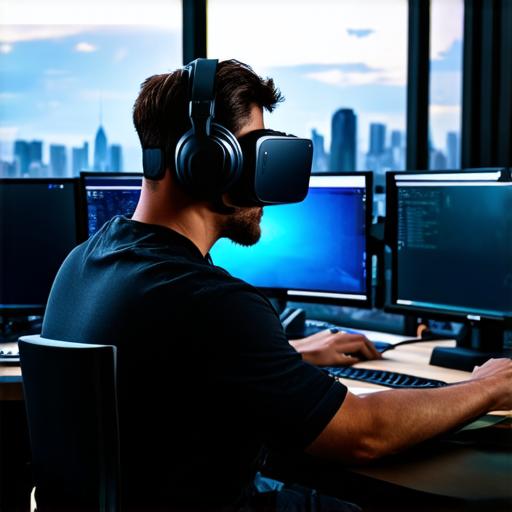
Virtual reality (VR) is becoming increasingly popular in various industries such as gaming, healthcare, education, and entertainment. Developing a VR game can be an exciting and challenging experience, but it requires a solid understanding of the technology and development tools.
Understanding the basics of VR development
Before diving into VR game development, it’s essential to understand some basic concepts. These include:
- Hardware requirements: VR games require high-performance hardware such as a gaming PC or console with a compatible headset and controllers.
- Software requirements: You’ll need Unity, a popular game engine that supports VR development, along with other tools like 3D modeling software, audio editing software, and version control systems.
- Development process: Developing a VR game involves several stages, including conceptualization, prototyping, design, programming, testing, and iteration.
Getting started with Unity
Unity is the most popular game engine for VR development, and it’s free to download and use. Here are the steps to get started:
- Download and install Unity from their website.
- Create a new project in Unity by clicking on “File” > “New Project.”
- Choose a template that suits your game concept and select the VR platform you want to develop for (e.g., Oculus, HTC Vive).
- Set up your project settings, including the resolution, frame rate, and audio settings.
- Import your assets, such as 3D models, textures, and sound effects.
- Create a basic scene by adding objects to the scene view and adjusting their positions and orientations.
Conceptualization: Turning ideas into action
Once you have a basic project set up in Unity, it’s time to start brainstorming ideas for your game. Some key considerations include:
- Target audience: Who will be playing your game? What are their interests and preferences?
- Gameplay mechanics: How will players interact with the game world? What challenges will they face?
- Narrative: What is the story behind your game? What themes and motifs do you want to explore?
- Art style: What visual elements will make your game stand out? What aesthetic elements are important to convey the mood and atmosphere of your game?
Prototyping: From ideas to action
Once you have a clear concept for your game, it’s time to start prototyping. This involves creating a basic version of your game that you can test and iterate on.
- Create a simple prototype of your game by importing assets, setting up game objects, and adding basic scripts.
- Test your prototype to identify any issues or bugs.
- Iterate on your prototype based on feedback from testers and stakeholders.
- Refine your prototype until you have a functional and engaging game that meets your goals.
Design: Creating an immersive experience
The design phase of VR game development involves creating the look and feel of your game, including the art assets, level layouts, and user interface. Here are some key considerations:
- User experience (UX): How will players navigate the game world? What controls will they use to interact with objects and characters?
- Level design: How will each level be structured, and what challenges will players face?
- Art style: What visual elements will make your game stand out, and how can you create a cohesive look and feel across all levels?
- Sound design: How can sound effects and music enhance the immersion of the game world?
Programming: Writing the code that brings your game to life
The programming phase of VR game development involves writing scripts and code that control the behavior of objects and characters in the game. Here are some key considerations:
- Scripting languages: Unity supports several scripting languages, including C and JavaScript.
- Game logic: What rules will govern the behavior of objects and characters in the game? How will players progress through the levels?
- Optimization: How can you optimize your code for performance, especially on low-end hardware?
- Debugging: How can you identify and fix bugs and errors in your code?
Testing and iteration
Once your VR game is built, it’s essential to test it thoroughly to ensure that it works as intended. Here are some key steps to follow:
- Test your game on different VR platforms and hardware configurations to identify any compatibility issues.
- Conduct user testing with a small group of players to gather feedback on the gameplay, art style, and overall experience.
- Iterate on your game based on feedback from testers and stakeholders.
- Release your game to the public, gather more feedback, and update it accordingly.
Real-life examples: Success stories in VR game development
Here are some real-life examples of successful VR games that illustrate key concepts and techniques in VR game development:
- Beat Saber: A rhythm game that uses VR controllers as virtual drumsticks to create an immersive music experience.
- Half-Life: A first-person shooter that uses room-scale VR to create a realistic and engaging combat experience.
- Job Simulator: A simulation game that allows players to experience various jobs in a VR environment.
Conclusion
Developing a VR game can be a challenging but rewarding experience. By following these steps, you’ll be well on your way to creating an immersive and engaging game that captivates players and stands out from the crowd. Remember to stay curious, keep learning, and never stop iterating and improving upon your work.